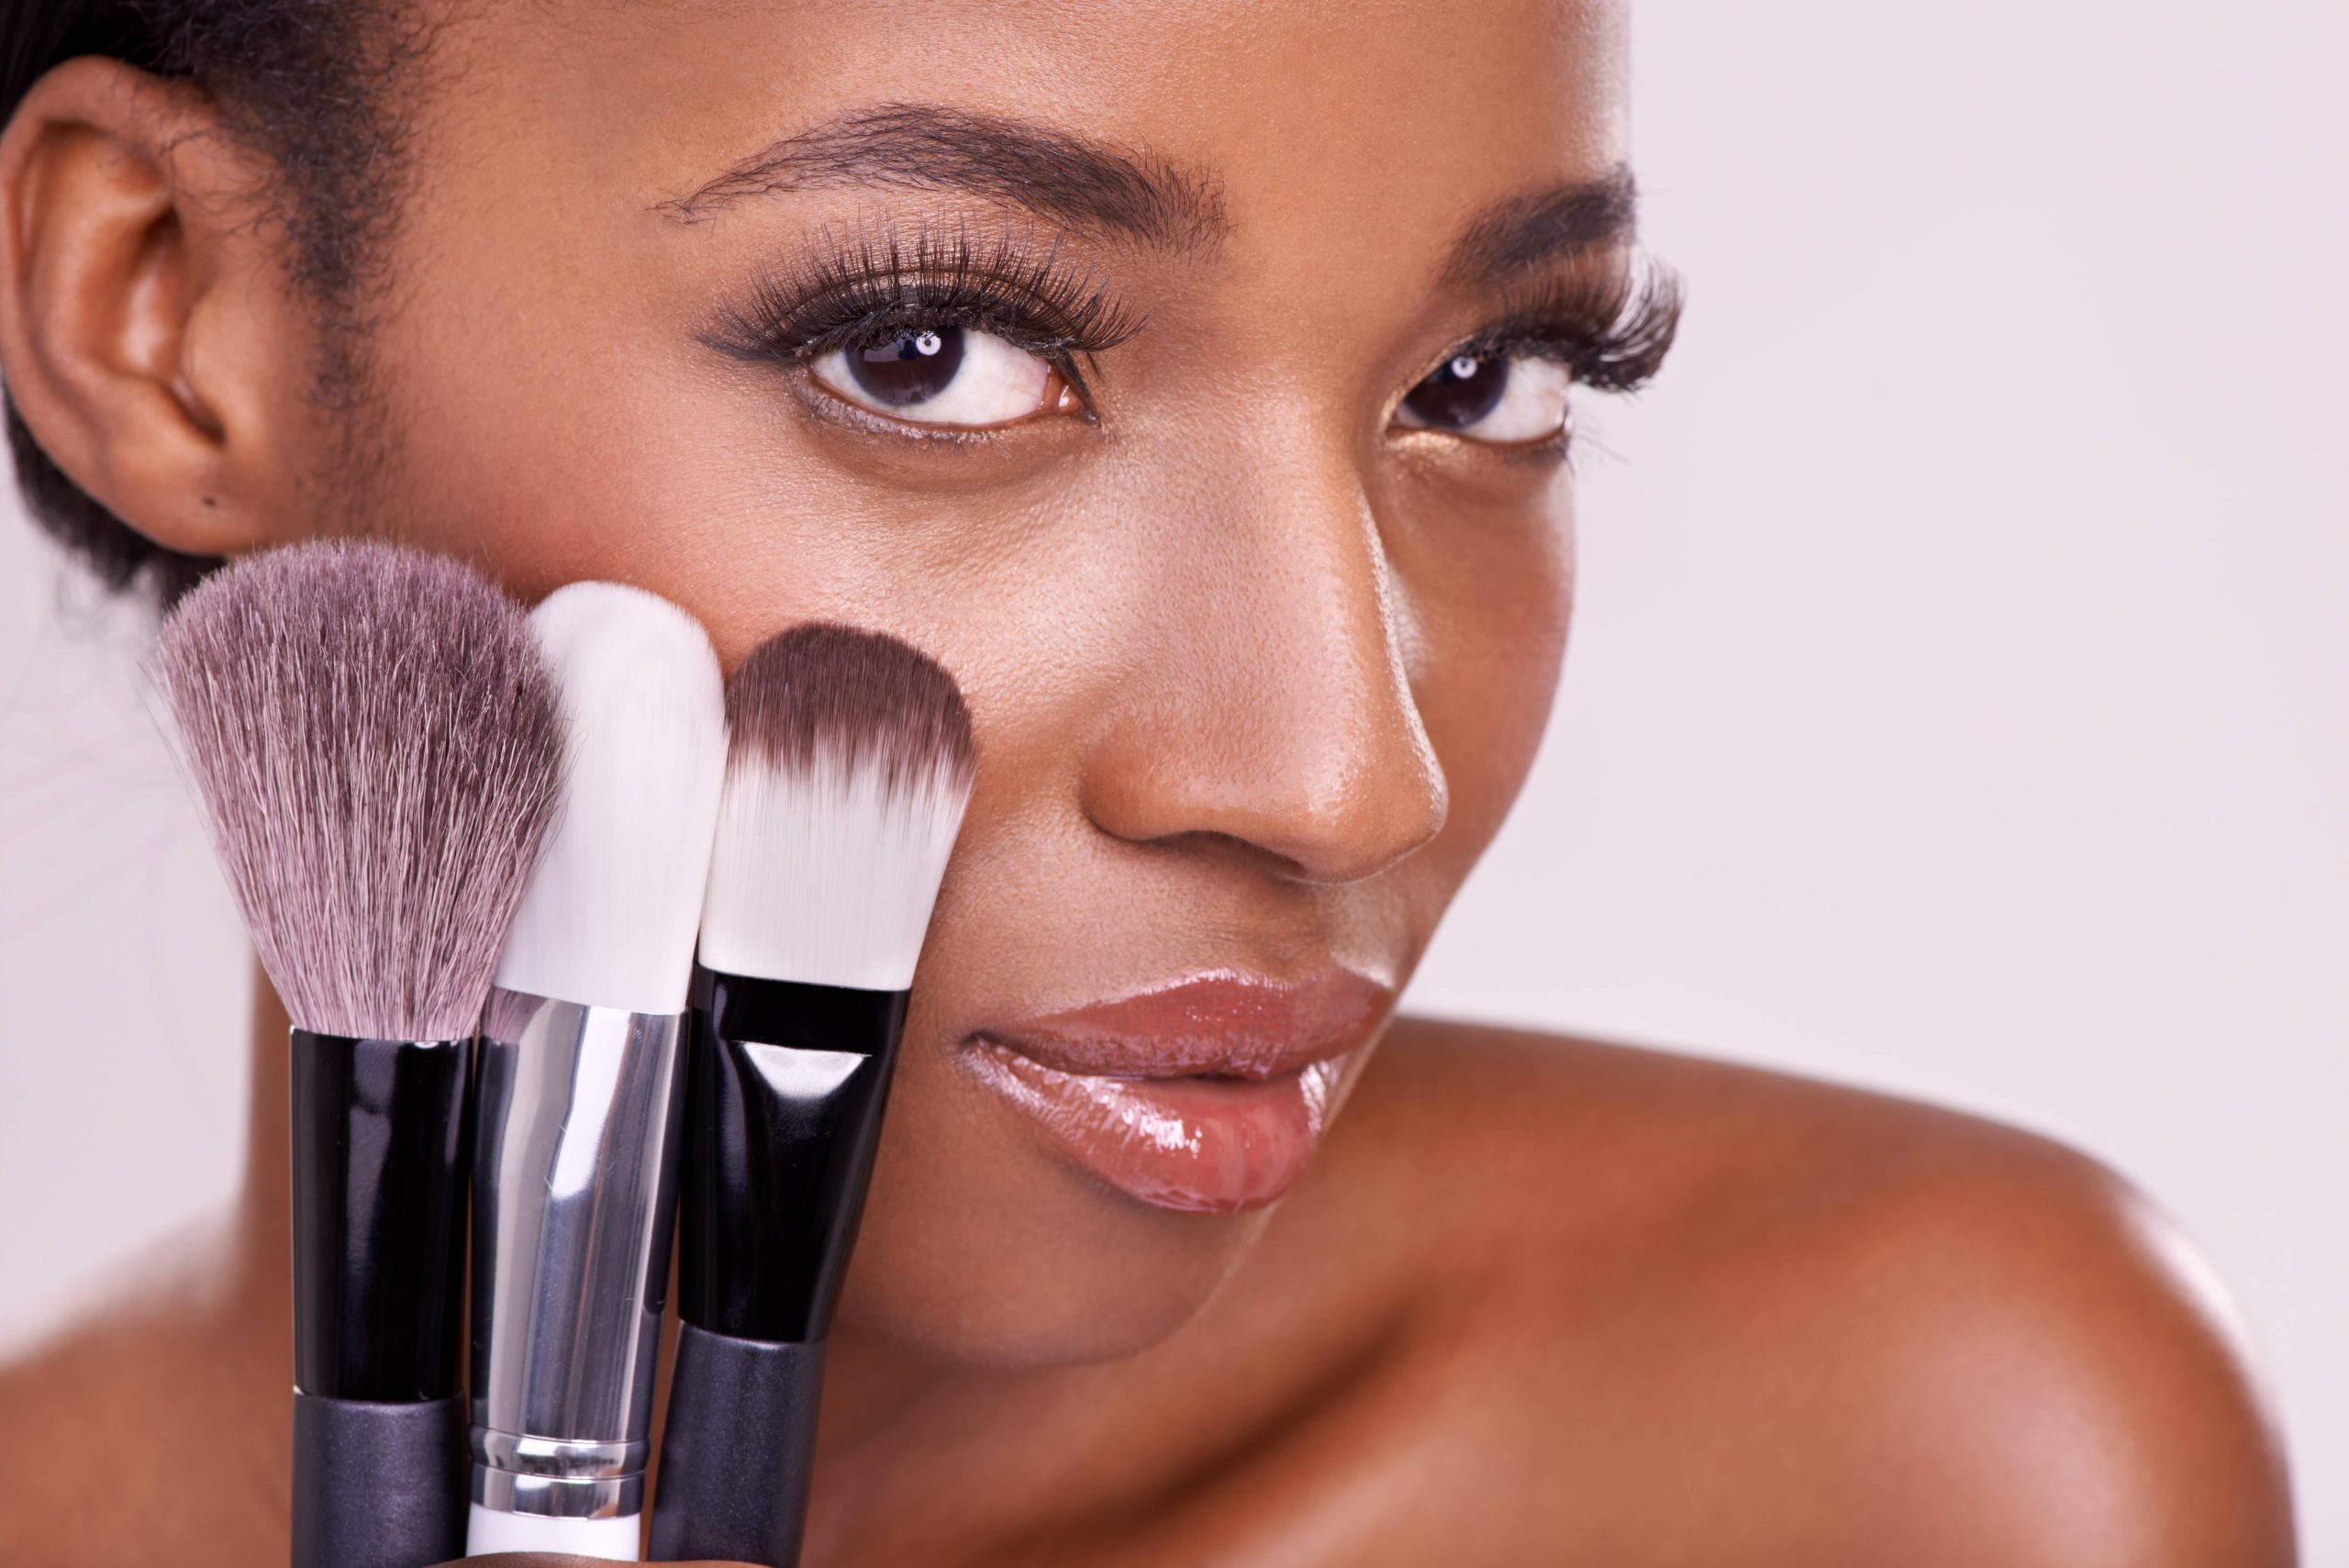
Eyelash extensions have become a staple in the beauty industry, offering clients the allure of longer, fuller lashes without the need for mascara. As a beautician, mastering the art of applying eyelash extensions can significantly enhance your service offerings and client satisfaction. This guide will walk you through the essential steps, techniques, and tips for applying eyelash extensions effectively and safely.
Understanding Eyelash Extensions
Before diving into the application process, it’s crucial to understand what eyelash extensions are. They are semi-permanent fibers that are attached to the natural eyelashes using a medical-grade adhesive. Extensions come in various materials, including synthetic, silk, and mink, and are available in different lengths, thicknesses, and curl types.
Preparing for the Application
1. Consultation
Begin with a thorough consultation to understand your client’s desired look and any potential allergies. Discuss the different types of extensions and help them choose the best option based on their natural lashes and lifestyle.
2. Workspace Setup
Ensure your workspace is clean, organized, and well-lit. Sanitize all tools and have everything within reach, including tweezers, adhesive, lash extensions, and eye pads.
3. Client Preparation
Ask your client to arrive without eye makeup and ensure their lashes are clean and dry. Use a gentle cleanser to remove any residual oils or makeup. Place eye pads under their eyes to protect the skin and separate the lower lashes.
The Application Process
1. Selecting the Right Lashes
Choose the appropriate length, thickness, and curl of the extensions. For a natural look, select extensions that are slightly longer than the client’s natural lashes. For a more dramatic effect, opt for longer and thicker extensions.
2. Isolating Natural Lashes
Using a pair of fine-tipped tweezers, carefully isolate one natural lash. This step is crucial to prevent multiple lashes from sticking together, which can cause discomfort and damage.
3. Applying the Adhesive
Dip the end of the extension into the adhesive, ensuring it’s coated evenly but not excessively. Too much adhesive can cause clumping and irritation.
4. Attaching the Extension
Gently place the extension on the isolated natural lash, about 1-2 mm away from the eyelid to avoid irritation. Hold it in place for a few seconds to allow the adhesive to bond.
5. Repeating the Process
Continue isolating and attaching extensions until the desired fullness is achieved. Regularly check for any clumping or misaligned lashes and adjust as necessary.
Post-Application Care
1. Drying Time
Allow the adhesive to dry completely. Some adhesives require a curing time of 24-48 hours, during which the client should avoid water, steam, and oil-based products.
2. Aftercare Instructions
Educate your client on proper aftercare to prolong the life of their extensions. Advise them to avoid rubbing their eyes, using oil-based makeup removers, and sleeping on their face.
Troubleshooting Common Issues
– Clumping: Ensure proper isolation of natural lashes and use the right amount of adhesive.
– Irritation: Check for allergies to the adhesive and ensure extensions are not too close to the eyelid.
– Premature Shedding: Educate clients on aftercare and ensure extensions are not too heavy for their natural lashes.
Conclusion
Applying eyelash extensions is a meticulous process that requires skill, patience, and attention to detail. By following this comprehensive guide, beauticians can provide clients with beautiful, long-lasting results. Continuous practice and staying updated with the latest techniques and products will further enhance your expertise in this popular beauty service.
